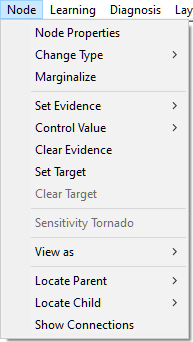
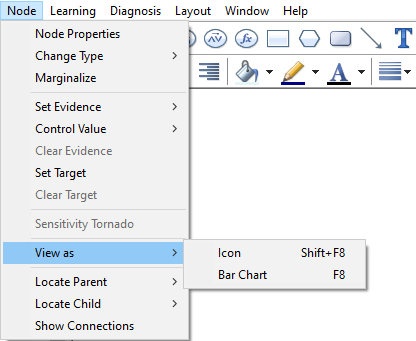
The Node Menu offers the following commands:
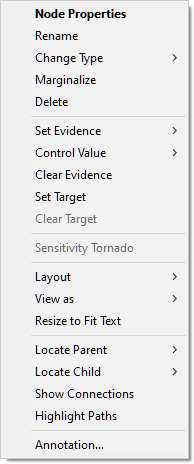
Node Pop-up menu, which is to a large degree duplicates the Node Menu, is different in the Graph View and the Tree View. The Node Pop-up menu in the Graph View can be displayed by right clicking on the node icon in the Graph View.
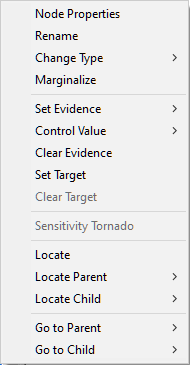
The Node Pop-up menu in the Tree View can be displayed by right clicking on the node name in the Tree View.
We will defer the command Marginalize to the Useful structural transformations section and commands Set Evidence, Control Value , Clear Evidence, Set Target, Clear Target and Sensitivity Tornado to the Node menu subsection in the Inference algorithms section. The remaining commands are described below.
Node Properties command in the Node Menu is active only if there is one (and only one) node selected in the Graph View. It invokes the Node Properties sheet for the selected node. In case of the Node Pop-up menu, more than one node may be selected but the properties are opened always of the node that the user right-clicked on.
Rename allows for editing the name of the node.
Change Type submenu allows for changing the type of the selected node.
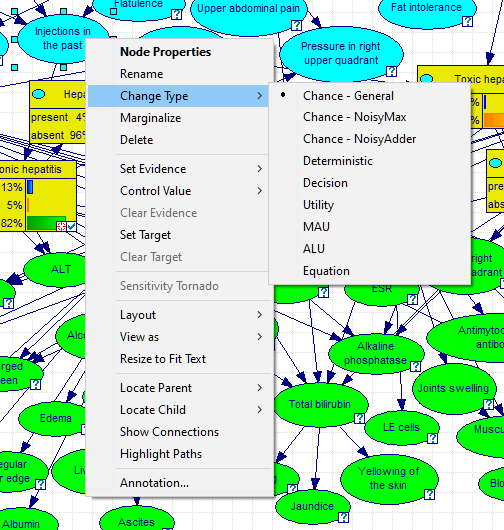
The current node can be changed to any of the listed types. Please note that one of the main effects is changing the node definition. This may lead to losing information. For example, changing the node type from Chance to Decision leads to losing the node definition, although it preserves the states and their names. State names will be lost as well when changing to node type to Utility or Equation, which are both continuous nodes.
Delete command, available only in the Node Pop-up menu in the Graph View, leads to deletion of the selected nodes.
The Layout submenu duplicates all commands present in the Layout Menu and the Format toolbar.
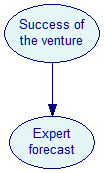
The View As submenu controls how the nodes are displayed in the Graph View.
The Icon option displays the node as an elliptical or polygonal shape (depending on node type). The probability distribution over the node states can be viewed, for example, by updating the model and placing the cursor over the Updated (![]() ) status icon.
) status icon.
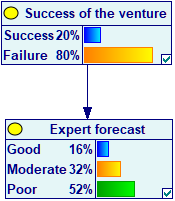
The Bar Chart option displays the node as a bar chart of the marginal probabilities of each state of the node. This view is useful when we want to see the marginal probabilities at a glance.
The View As command applies to the currently selected nodes. If no nodes are selected, then the command applies to all nodes.
Resize to Fit Text command, available only in the Graph View, changes the size of the node in the Graph View so that it fits its name (or identifier).
The following three commands are useful in navigating very large models that do not fit on the screen.
Locate command, available only in the Tree View, finds the selected node in the Graph View and flashes three times.
Locate Parent and Locate Child submenus help in navigating through the model. They display the list of all parents (or children) of the node. When one of them is selected, it is located it in the Graph View and is flashed three times.
The Annotation... command (Node Pop-up menu only) invokes the Annotation dialog, which allows for adding an annotation to the node. See Annotations section for more information.
The Go to commands, available only in the Tree View, aid navigation within the tree view. The Go to Parent command can be used to select a parent of the selected node. If there is more than one parent, then it will display a list of all parents of the selected node. Clicking on a parent selects it in the Tree View. The Go to Child command is analogous and can be used to select a child of the selected node.
Finally, Show Connections and Highlight Paths are described in detail in section Structural Analysis.